Dec
16
Tutorial — Quilted Felt Xmas Tree Ornament
Filed Under Crafting, Sewing | Leave a Comment
If you’re looking for the Sew Mama Sew Giveaway Day post, it’s here.
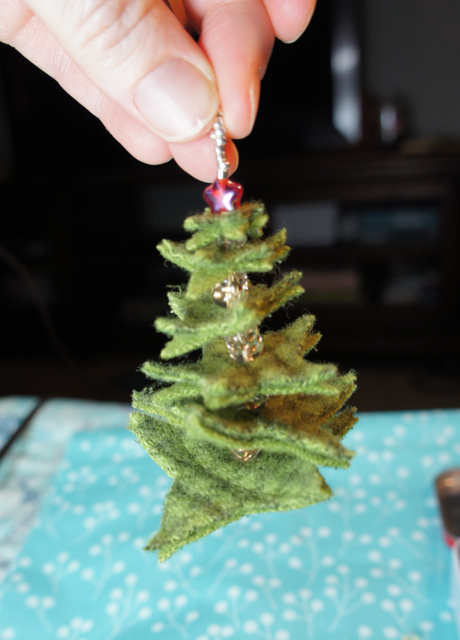
I’m not sure how it happened, but Christmas is less than 10 days away! I wanted to share a quick tutorial with you for a felt Christmas Tree Ornament. If you’re still decorating, or perhaps you need a hostess gift, this little ornament might be just the ticket. And it only takes about 30 minutes to make!
What you need:
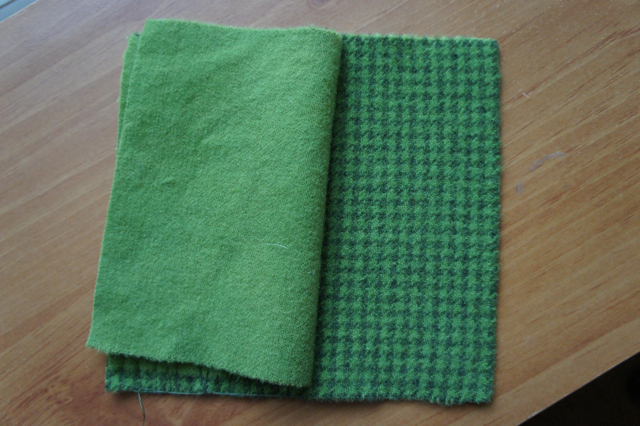
Felt. See below.
Beads. 2-4 for the “trunk”, 5 fairly large ones to go between the “branches”, 1 to serve as the “tree topper”, and 15-20 seed beads to make the hanger.
Needle and thread.
This template. (PDF)
What to do:
If you have 3mm felt or thicker, you only need one piece. Most fulled sweaters will be thick enough as is, but all I had on hand was this thin green felt. I decided to take two pieces and quilt them together using random straight lines.

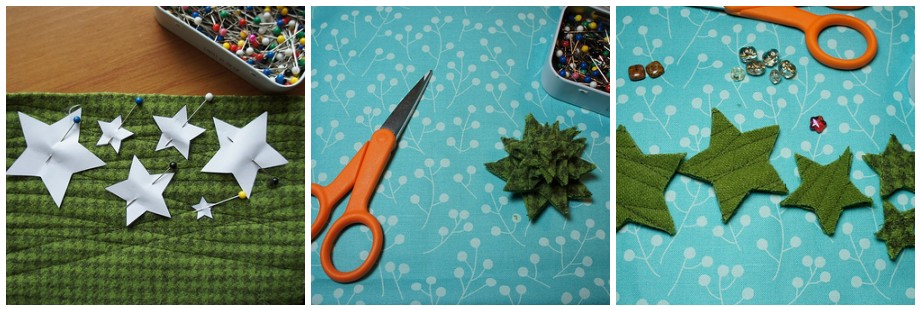
Cut out the templates, and pin them to your felt. Then cut out the felt pieces.
Thread your needle with a longish piece of thread (doubled over) and tie in a knot.
If you’re like me and used two pieces of felt quilted together and you actually care which side is up, then insert the needle into the top of the largest star (if you don’t have a top, then just pick a side and poke), and pull it all the way through. (This hides the knot on the inside)
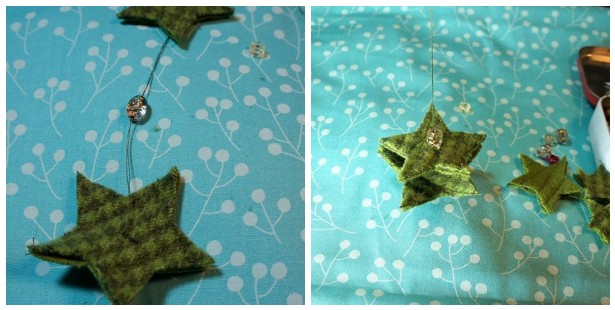
Next thread your “trunk beads” onto the needle followed by one seed bead and pull it all the way through.
Insert your needle into the trunk bead closest to the seed bead, not the seed bead, and poke it back through the center of the felted star. Pull taut. (I know, “taut” looks weird, but I looked it up and it is right… as we always tell the kids “English is hard”.)
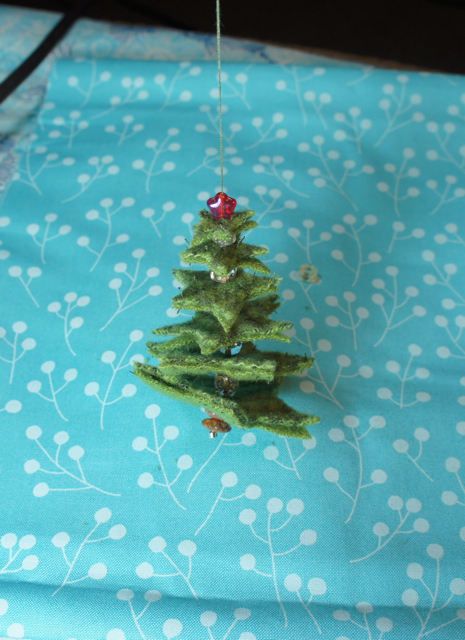
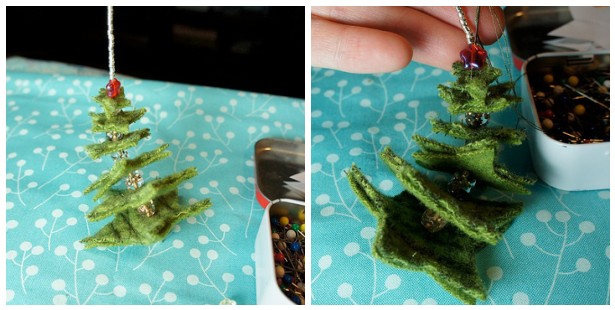
Thread one of the “branch separating beads” and the next largest star onto the stack. Repeat for all remaining stars.
Add your “tree topper” bead. I chose this cute red star, but I have also used large round yellow beads. You can use anything you like, or nothing at all.
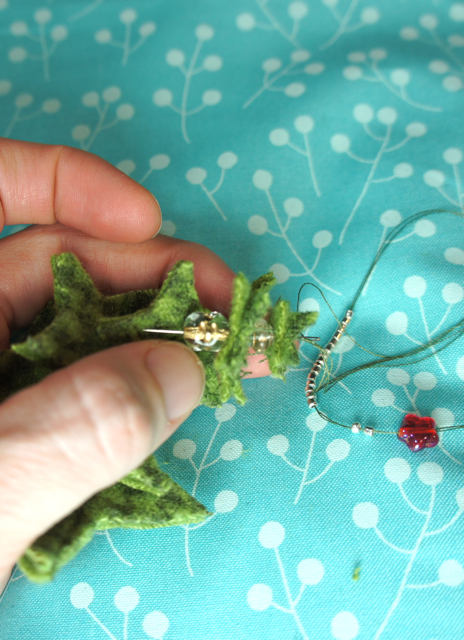
Now add the rest of the seed beads. I have these sterling silver seed beads left from ages ago, and I really like them for this application.
After all your seed beads are strung, insert your needle back into your tree topper bead from the top (or into the top star “branch” if you didn’t use a topper bead). Pull your thread all the way through and you should have a loop.
Push the needle back through a couple of “branches” and their separating beads and knot off.
And you’re done! I’ve sold I don’t know how many of these in my etsy shop (now closed), so I hope you enjoy making your own. I’d love to see them, if you make one!
Sep
26
Mini-Quilt Monday #4
Filed Under Crafting, Quilting, Sewing | 5 Comments
It’s so hard to believe this is the fourth and final Mini-Quilt Monday brought to us by Faith at Fresh Lemons! It’s gone by so fast and I’ve had a really great (though busy!) time. I’ve loved all the motivation to actually finish some things… even if they were just mini projects. I had so many ideas, that I am a little sad that I’m out of Mondays. I will definitely have to do this again… but not every month, nothing else would ever get finished.
So today’s project was also inspired by Faith, who posted her name badge for the Sewing Summit as her mini quilt for week #2.
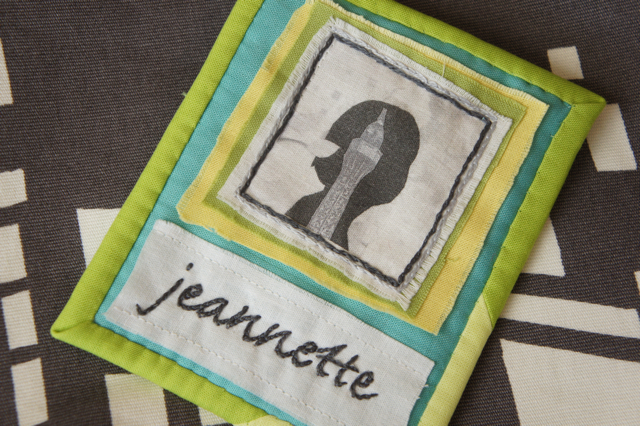
I wasn’t sure what I was going to do when I started this. I knew I wanted my avatar… and I knew that I wanted the font that I’ve used on everything from this website to my sew in tags. Other than that, I just decided to wing it.
There was no way I was going to try to piece that avatar, so I looked up how to print on fabric using freezer paper, and printed it on cheapo muslin from my last JoAnn run. (Like $.50 a yard after all the awesome JoAnn coupons!!!) At the same time I printed my name using my font in really pale gray letters so I could embroider over them. I’ve never done that kind of embroidery (or any kind for that matter) before, so I’m stoked with how it came out.
You’ve probably noticed my obsession. with. solids. lately, so once again I hit my scraps and just started stacking them together with the printed/embroidered stuff until I got what you see above. Not my usual colors at all. I also left several unfinished edges showing. gasp.
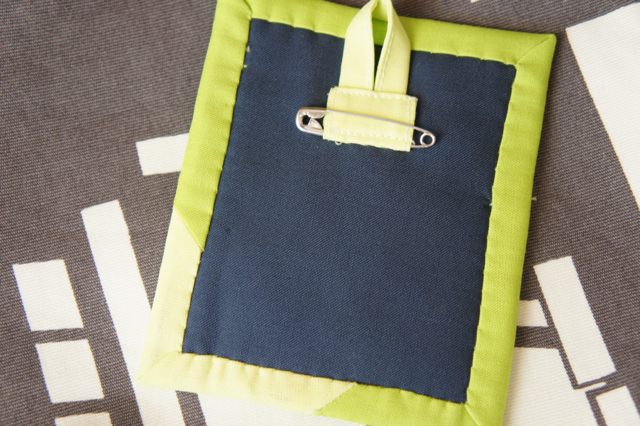
The back. I’ve got the option to hang from a lanyard, or pin it to whatever (probably my bag).
And I have to shout out to Faith, because I wouldn’t have even known about sewing summit if it weren’t for that mini-quilt Monday post, and now I’m going! I can hardly wait!
Sep
22
Moo to you too!
Filed Under Crafting, Geeking, Quilting, Sewing | 3 Comments
Look what I got nearly a week early:
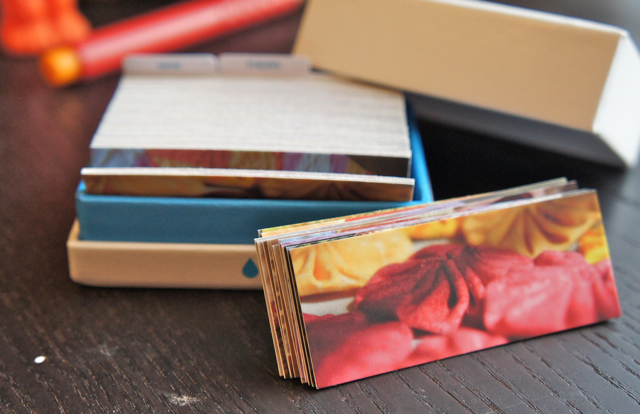
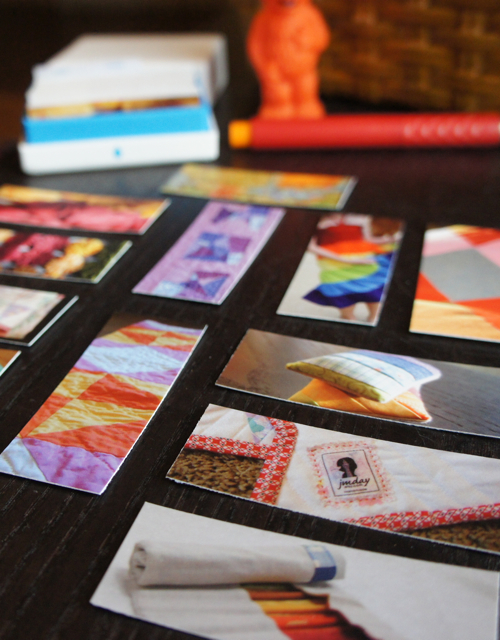
Mini-moo cards for taking to the Sewing Summit. And just as a side note, they have a 25% off deal going on right now too. I swear they aren’t paying me to say that… but they could.
This isn’t the first time I’ve ordered these cute little calling/business cards. I used to include a couple in every Etsy order I shipped. But since I haven’t sold anything on Etsy in — well — forever, I decided to get some cards that don’t have my etsy shop URL on them. Besides, the old ones only have my banner on the non-text side. (I’m not sure whether to call that the back or the front.)
This time around, I wanted to feature some of the stuff I’ve made over the years. You’ll probably recognize some of the photos I’ve used if you have been a long time reader. Some of you might even have the item in the picture in your possession. When I opened up the box and started to pull one of each card out I was shocked at just how many photos I had chosen. Ah, well, variety is good, yes?
As always, the quality of these little cards is just stunning. Heavy paper, crisp clear photos and text, and packaging to die for. I heart tiny boxes. What can I say? It seems to run in the family… you should see my grandmother’s collection of boxes, it’s taking over her living room… and Alexis immediately wanted to know when she could get her hands on this new box… hehehe. (As another side note, she thought that the little blue droplet on the edge of the box meant that the cards were waterproof.)
Seems I’m not the only one with this idea. Lots of the other summit attendees have blogged about their cards recently. I can’t wait to start trading them!
Sep
2
Color Me Fall
Filed Under Crafting, Quilting, Sewing | 2 Comments
Against my better judgement, I’ve decided to join in on several “group-along” projects for the fall. You know, in my spare time? To make things even worse, I’ve started thinking about NaNoWriMo AGAIN. Will I ever learn?
Over at Stitched in Color, the “thing-along” (Celebrate Color) is about fall colors. And the first “assignment” is to write a post about what fall colors are for me. As usual, I’m a day late and a dollar short. But here is my excuse. It’s only September. And it’s been one of the hottest (and driest) summers on record, with no signs of letting up any time soon so I’m not feeling very “fallish” yet.
Honestly, to me, fall doesn’t start until somewhere around Halloween. That’s about when all the leaves on the trees turn brown and fall off. No pretty colors here… well, not many anyway. Around here (normally) in September, the weather cools off enough and we get some (much needed) rain that the trees and plants turn green again from their dead summer brown.
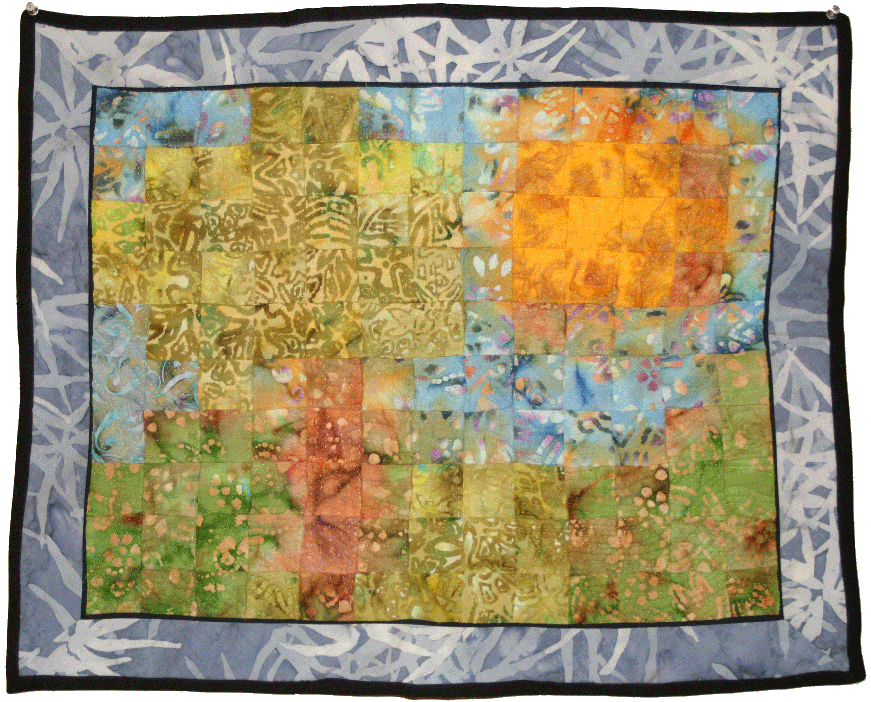
And that brings me to this:
A little hand pieced, hand quilted scene I made a few years ago. These are the colors I think of in September. Clear blue skies, grass that is just greening up a little, and sunshine that isn’t so brutally suffocating. Not the most traditional of fall like colors, I know.
Later in the year, I start seeing the world in the warmer hues of orange and brown and gold, but still with a bit of green and red thrown in. On a side note, why is it that the colors for fall — when the weather is cooling off — are warm colors, and the colors for spring — when the air warms up — are cool colors like greens and blues?
I had planned to pull fabrics to show you what’s in the works, but found that nothing I had really fit the image in my head. I hate it when that happens. It means I have to go run over to the LQS. I mean, what a hardship!
I’m going to try to combine my Celebrate Color projects with some Mini-Quilt Monday posts for September. I hope that’s not cheating! So stay tuned. With any luck, they won’t all be epic Friday Fails!
Aug
17
So many projects, So little time
Filed Under Crafting, Parenting, Quilting, Sewing, Writing | 1 Comment
I’m not sure what’s gotten into me lately. I’ve never been the kind to have a bunch of UFOs (that’s Unfinished Objects for my non-crafty readers) sitting around. In fact, I rarely have more than a couple of projects going at once. But as I was looking around the loft recently, I realized that I have no less than 5 projects on the blocks right now. And if that isn’t bad enough, I have at least another 4 waiting patiently for me to start them. And that doesn’t even include all the ones that I’ve sort of abandoned (socks, cross-stitch projects, etc).
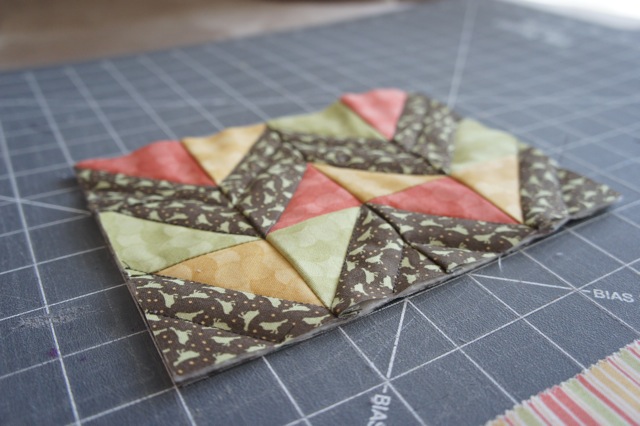
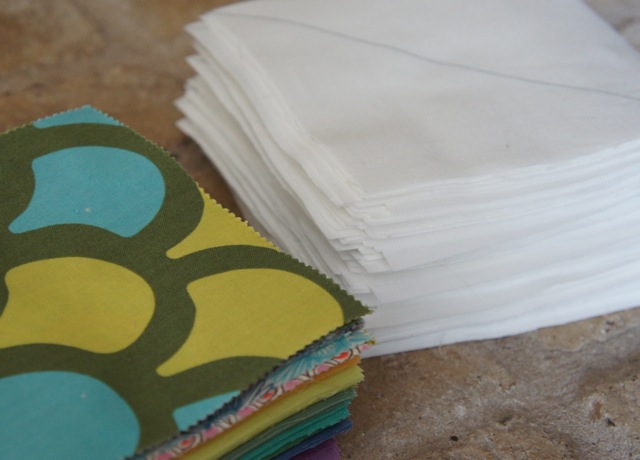
The new quilt for Alex’s bed has been sitting in this state for weeks. I think such a large stack of squares is putting me off as far too daunting. How long exactly is that going to take me to not only make all those HSTs, but also then piece them together into blocks and then a twin sized quilt? Yikes. She’ll probably be 14 before I finish.
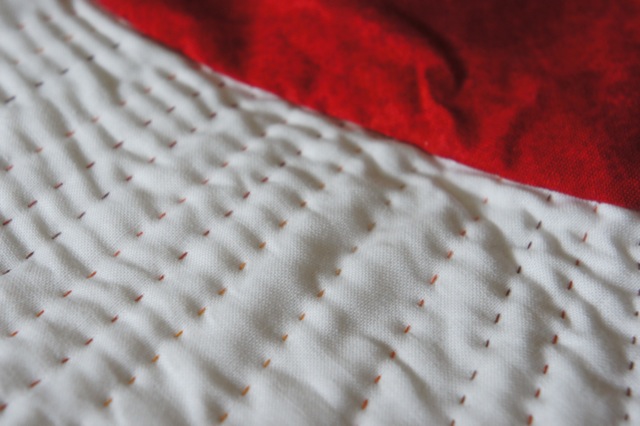
Another project sitting neglected in a pile on my chair. I started the quilting on the firebird quilt — I really like how it’s coming out — and it was going pretty quickly, so I told myself that I could put it aside as I have months before I would even need to think about finishing it for the spring auction.
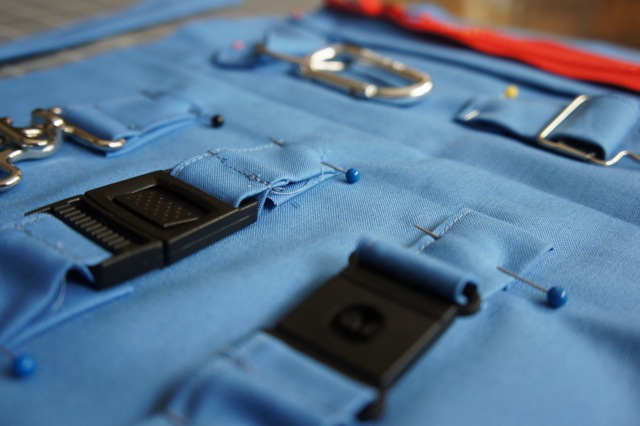
Here’s one I haven’t showed you. I’ve been working on a busy book for the baby. He’s way into hooks and latches at the moment, but by the time I finish this project he may well be a world class lock picker… and I’m only slightly exaggerating. This is a project that I spend tons of time daydreaming about while rocking the boy to sleep, but then don’t have the energy to tackle it once he’s down.
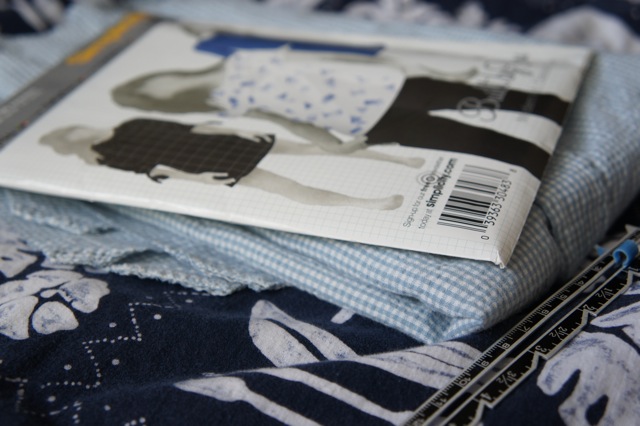
Then there are the clothing projects. Chris and I got rather ruthless a couple of weeks ago and cleaned out our closet of most everything. So now, I have even less stuff to never wear. He was going to pitch these two shirts, and I snagged them with the hope of applying Simplicity 3835 to them.
I’ve cut the seersucker with no abandon, and now I might have a few issues on my hand…. like the sleeves are too small, and the hemlines don’t match up. Ahem, maybe I should have planned before wielding the scissors. Has anyone else successfully altered an old mens shirt in a similar fashion? What is the correct way to approach such a project?
Not shown are the first quilt, and the collage for Sean’s room. Both of those are collecting dust as well. Never mind that I haven’t touched ANY of my works in progress since, oh, hmmmm… last Friday. I suppose if I quit blabbing blogging about them, I could actually work on one or more of them… There’s a novel idea.
Oh who am I kidding? Is it time for bed yet?


