Sep
29
Improv Tote
Filed Under Sewing | 4 Comments
Yep, another project for the Sewing Summit. It’s lame how much of that is going on in my house right now. You would think I was excited or something.
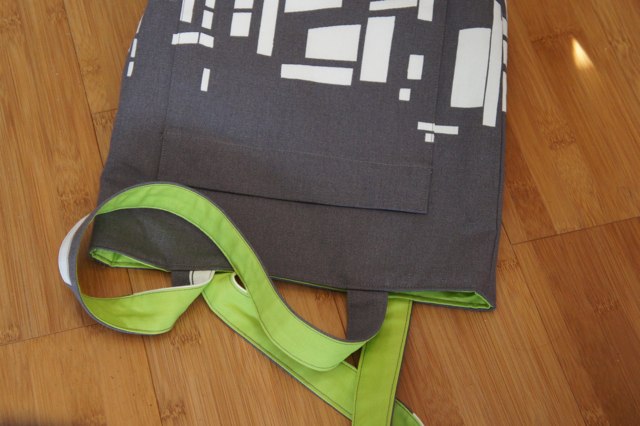
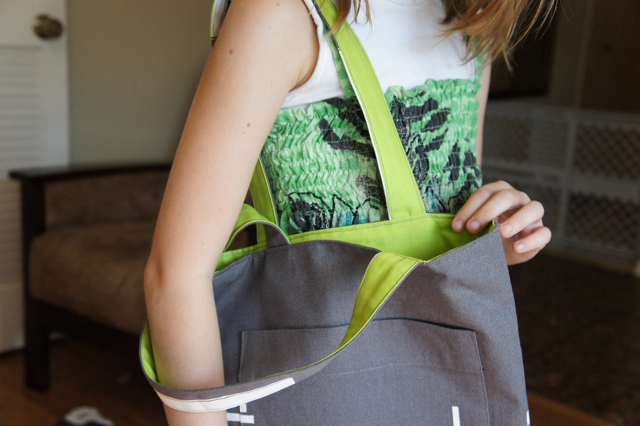
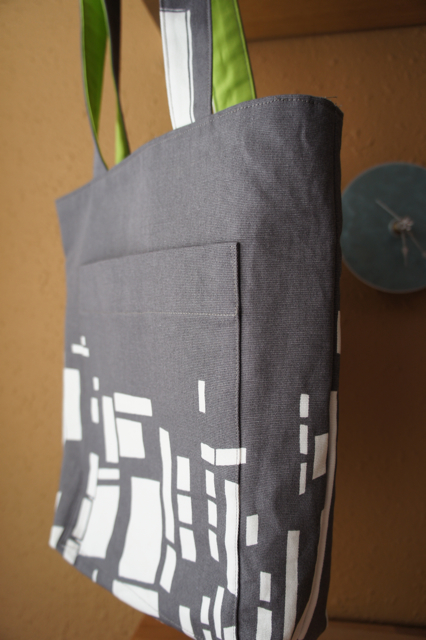
Lots of the other ladies are making bags (and other beautiful things) for hauling all their stuff around the summit. I had to jump on that bandwagon after I realized I had nothing to do with a whole yard of upholstery fabric from IKEA. I bought it so I would have a bit for a class for making zippered pouches, but what to do with the rest after I cut out the 2 7×8 inch pieces recommended by the instructor…
Warning, side story coming — My mother painted a nativity set for a church Christmas Bazaar one year, and wanted to make a “stable” to go with it. After watching her struggle with the wood for a while, my father (a big planner and perfectionist) asked if he could help. She agreed on the condition that he do it her way and then proceeded to tell him to cut pieces “about this big by this big” and demonstrating with her hands. He rolled his eyes, but did it anyway. I understand that the entire nativity came out beautifully and was sold to one of the bazaar volunteers before it could even go up for auction.
Well, that’s how I sew. I just eyeball how big I want the bag or book, or whatever and start cutting. Most of the time it comes out, but not always. This time, the whole bag came together so beautifully that I kept wondering when everything was going to go wrong. The only problem I had was that the first set of straps I cut were too short, so I had to re-cut them. As it turns out that was for the best, as the first set were mostly white, and I didn’t really like the look of them.
So I guess we’ll see just how functional this little tote will be. Should be good enough for a bit of hand sewing, some moo cards, my phone and whatever I pick up along the way don’tcha think? I hope so, cuz I’m not taking my purse.
And damn if I dont have ideas for about 15 other bags to make from the (copious) leftovers of this fabric. Maybe I’ll get a little camera pouch sewed up before I leave in eight days. You know, because I don’t already have enough to do.
Sep
28
(Almost) Wordless Wednesday
Filed Under Parenting | Leave a Comment
Pretty girl…
… and silly boy.
Sep
26
Mini-Quilt Monday #4
Filed Under Crafting, Quilting, Sewing | 5 Comments
It’s so hard to believe this is the fourth and final Mini-Quilt Monday brought to us by Faith at Fresh Lemons! It’s gone by so fast and I’ve had a really great (though busy!) time. I’ve loved all the motivation to actually finish some things… even if they were just mini projects. I had so many ideas, that I am a little sad that I’m out of Mondays. I will definitely have to do this again… but not every month, nothing else would ever get finished.
So today’s project was also inspired by Faith, who posted her name badge for the Sewing Summit as her mini quilt for week #2.
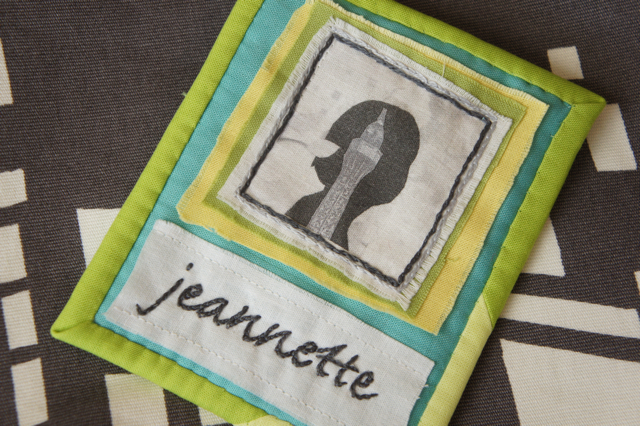
I wasn’t sure what I was going to do when I started this. I knew I wanted my avatar… and I knew that I wanted the font that I’ve used on everything from this website to my sew in tags. Other than that, I just decided to wing it.
There was no way I was going to try to piece that avatar, so I looked up how to print on fabric using freezer paper, and printed it on cheapo muslin from my last JoAnn run. (Like $.50 a yard after all the awesome JoAnn coupons!!!) At the same time I printed my name using my font in really pale gray letters so I could embroider over them. I’ve never done that kind of embroidery (or any kind for that matter) before, so I’m stoked with how it came out.
You’ve probably noticed my obsession. with. solids. lately, so once again I hit my scraps and just started stacking them together with the printed/embroidered stuff until I got what you see above. Not my usual colors at all. I also left several unfinished edges showing. gasp.
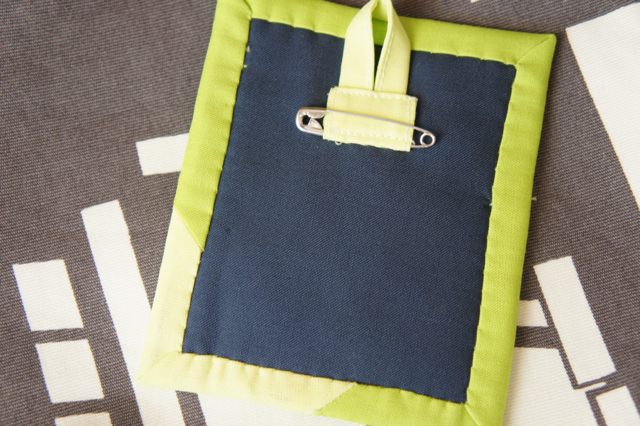
The back. I’ve got the option to hang from a lanyard, or pin it to whatever (probably my bag).
And I have to shout out to Faith, because I wouldn’t have even known about sewing summit if it weren’t for that mini-quilt Monday post, and now I’m going! I can hardly wait!
Sep
22
Moo to you too!
Filed Under Crafting, Geeking, Quilting, Sewing | 3 Comments
Look what I got nearly a week early:
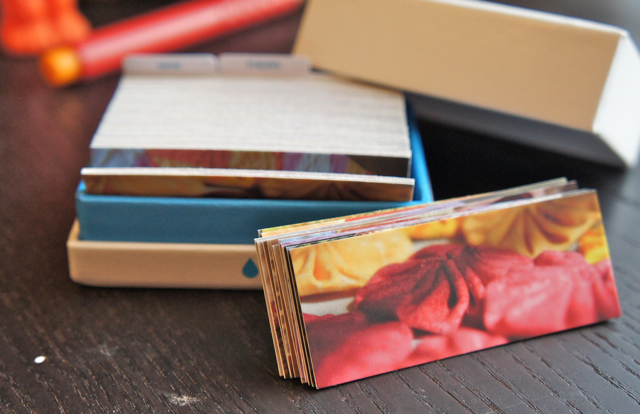
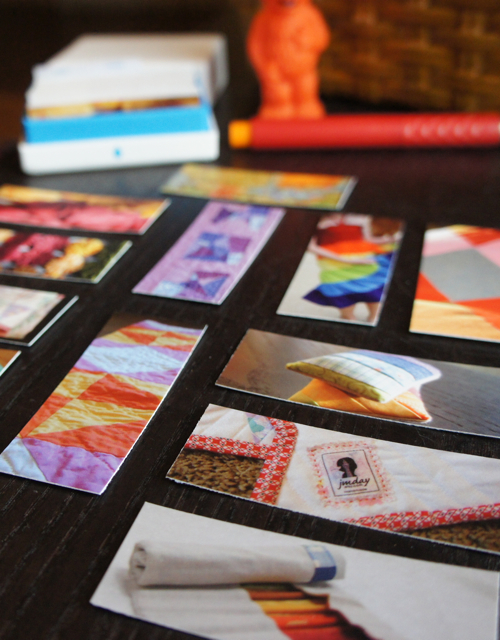
Mini-moo cards for taking to the Sewing Summit. And just as a side note, they have a 25% off deal going on right now too. I swear they aren’t paying me to say that… but they could.
This isn’t the first time I’ve ordered these cute little calling/business cards. I used to include a couple in every Etsy order I shipped. But since I haven’t sold anything on Etsy in — well — forever, I decided to get some cards that don’t have my etsy shop URL on them. Besides, the old ones only have my banner on the non-text side. (I’m not sure whether to call that the back or the front.)
This time around, I wanted to feature some of the stuff I’ve made over the years. You’ll probably recognize some of the photos I’ve used if you have been a long time reader. Some of you might even have the item in the picture in your possession. When I opened up the box and started to pull one of each card out I was shocked at just how many photos I had chosen. Ah, well, variety is good, yes?
As always, the quality of these little cards is just stunning. Heavy paper, crisp clear photos and text, and packaging to die for. I heart tiny boxes. What can I say? It seems to run in the family… you should see my grandmother’s collection of boxes, it’s taking over her living room… and Alexis immediately wanted to know when she could get her hands on this new box… hehehe. (As another side note, she thought that the little blue droplet on the edge of the box meant that the cards were waterproof.)
Seems I’m not the only one with this idea. Lots of the other summit attendees have blogged about their cards recently. I can’t wait to start trading them!
Sep
19
Mini-Quilt Monday #3
Filed Under Quilting, Sewing | 6 Comments
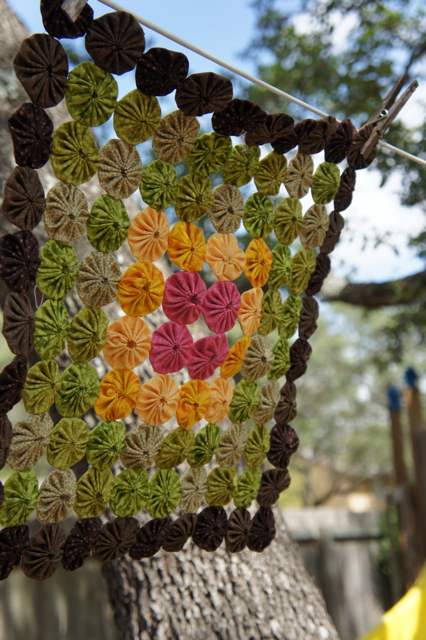
Might I present Mini-Quilt #2 for Mini-Quilt Monday #3. And my first entry for Celebrate Color!
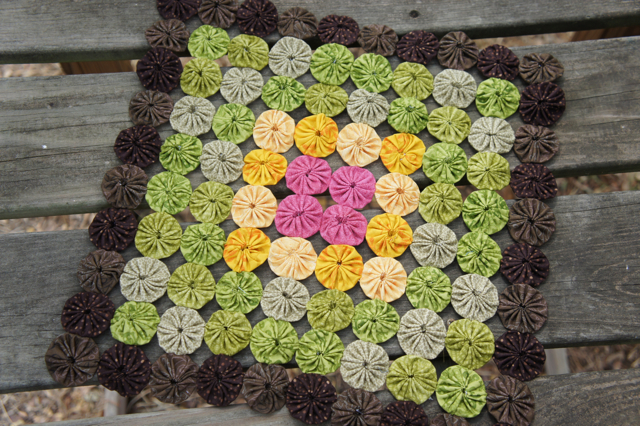
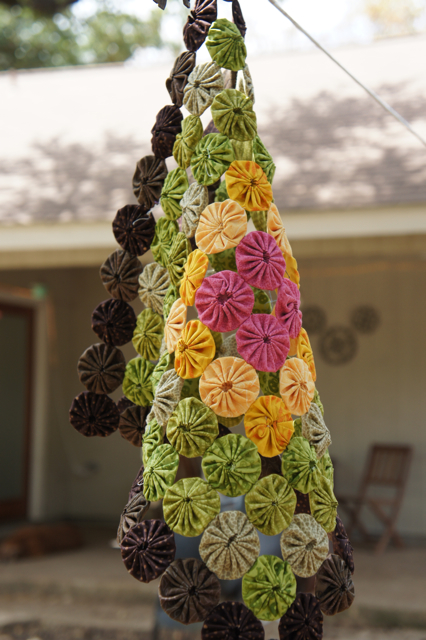
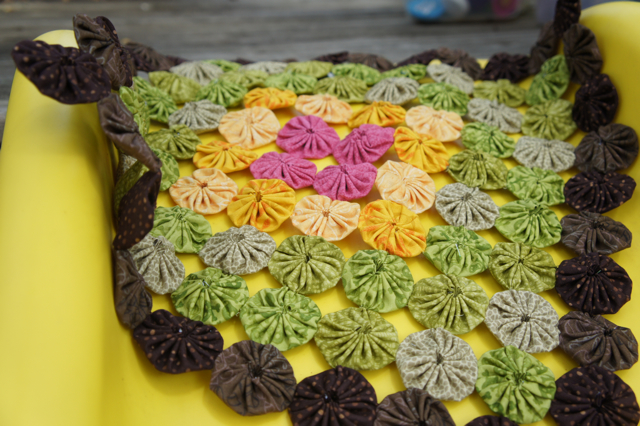
Yo-yos. 100 of them to be exact. In, oh-so-untypical fashion, I tried something new in a small way. And boy am I glad of that. 100 yo-yos may not seem like much, but it took me a week (on vacation) to make them, and another week to sew them all together. I can’t even imagine how much work is involved in making a whole bed cover!
And I learned a bunch along the way.
For example. How to make a yo-yo. Ha ha. I had to ask Alexis. She’s made them before (taught by her grandmother) and I haven’t. My first few were obvious. You can see one in the middle of the third picture. It’s the yellow one in the bottom corner. I didn’t realize I was supposed to be “hemming” them as I went around the circle. Oh. Yeah. Pulling them shut after I figured that gem out was a lot easier.
Sewing them together. I had them sewn into rows before I figured out a better way to join them. Whip stitching. No. Blind hem stitch. No. Running the string through a small section on one, then through a small section on the other and then pulling it tight? yes.
Still. It came out well.
I think I will hang it over my desk, or over my sewing desk. Not sure which. Alexis told me she thought I should keep this one. Why thank you, my dear. It’s so nice to think mommy deserves something once in a while.


