Nov
29
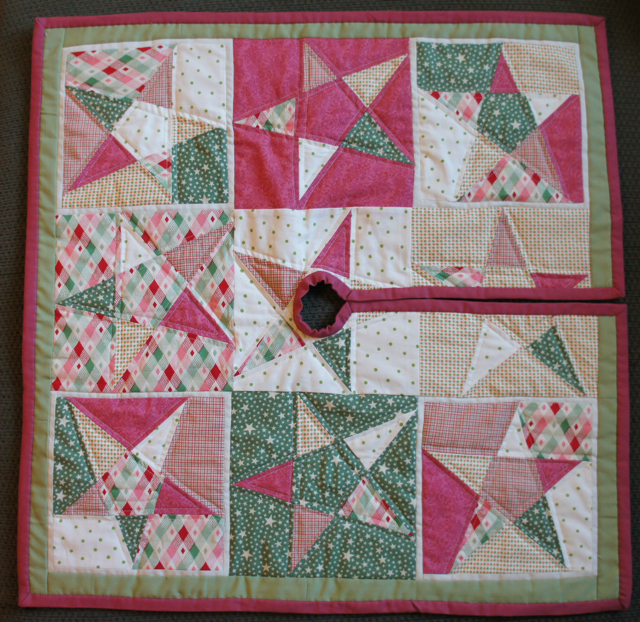
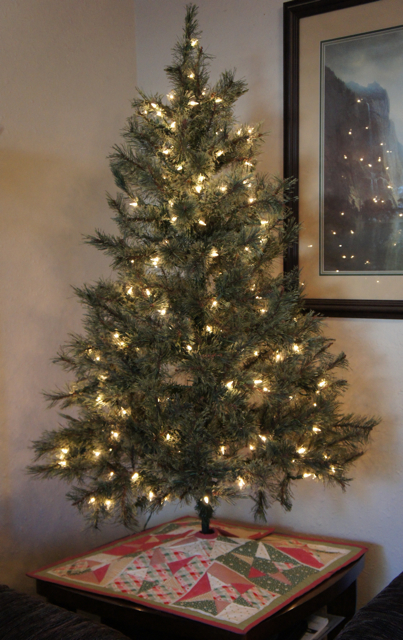
After the last two tutorials for 5 pointed star blocks, I had all these blocks lying around. Ok, not really, I sort of planned it this way. I even chose the christmassy colors/fabrics on purpose. But I hadn’t planned on making a tree skirt until we decided that it wouldn’t be prudent to install the giant 7 foot tree in the living room this year. You know, what with the 1 year old with extra stretchy arms, and the over-abundance of furniture already busting out of the living room?
So last weekend — before they were all gone — Alexis and I went to Target and bought a little 4 foot tree to put on the end table between the sofas. Honestly, I was sure I would hate it and would be so disappointed and sad to not have my big tree out. One of the things I savor each year is putting my handmade tree skirt around the tree. But I thought that the big tree skirt might look good as a tablecloth/tree skirt this year.
Well, it looked ok, but the “presents” were all draped off the edges of the table, and so it was really just a white quilt around the base of the tree. That and I was terrified someone was going to set a glass of wine on it and knock it over (and by somebody I mean me).
So, like I said, I had all these red and green star blocks sitting around waiting to be turned into a table runner… so zing. The lightbulb went off.
My first problem was that the blocks from the two different tutorials were different sizes by 1/2 inch. So I decided to sash around the smaller ones. Of course, my quilty math was off, and I cut the sashing WAY too big for the tiny little 1/4 inch sashing I would need, but what’s the fun if there is no fabric waste, right?
So after that was done, I sewed up 9 of the blocks into a little mini quilt and quilted it by echoing each star shape about 1/4 inch on either side of the seam lines. I also stitched in the ditch around all of that skinny sashing. Let me tell you, I suck at SITD. I couldn’t stay on the seam line to save my life.
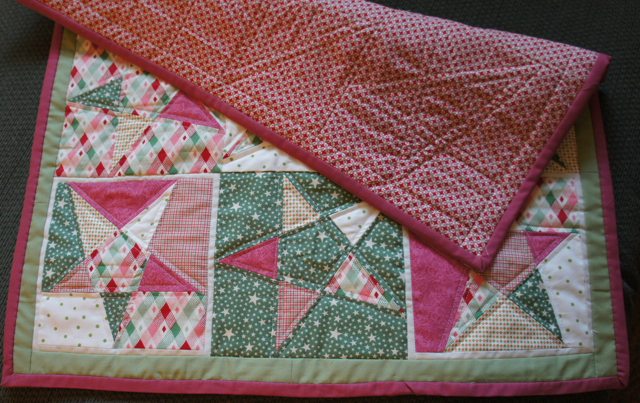
Anyway. After I had the whole thing quilted (and after I went to the LQS to find an appropriate solid color for binding) I decided that the quilt needed a border. Lucky for me I usually cut the back and the batting waaaay too big, so I just added some green strips to the edges by laying them face down on the finished top and sewing through all three layers and pressing them open. Ooooh… so that’s how quilt as you go works!! Gonna have to try a whole scrappy quilt doing that, but more on that later.
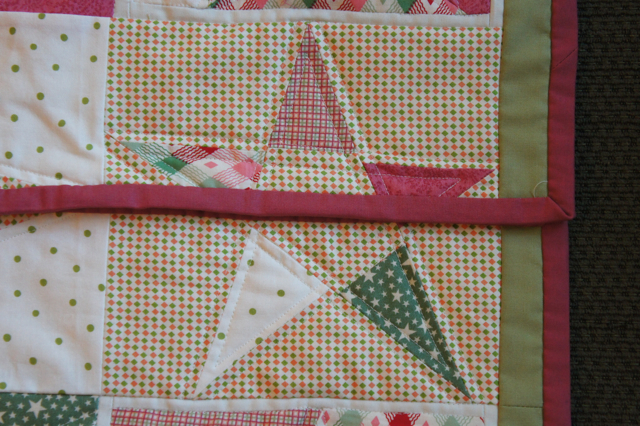
So after I added my impromptu border, it was time to make the slit in the tree skirt. It is so hard to take a pair of shears to a freshly quilted quilt, but I did it anyway. I have to keep telling myself that I have nothing to lose, really. Just some time and some fabric.
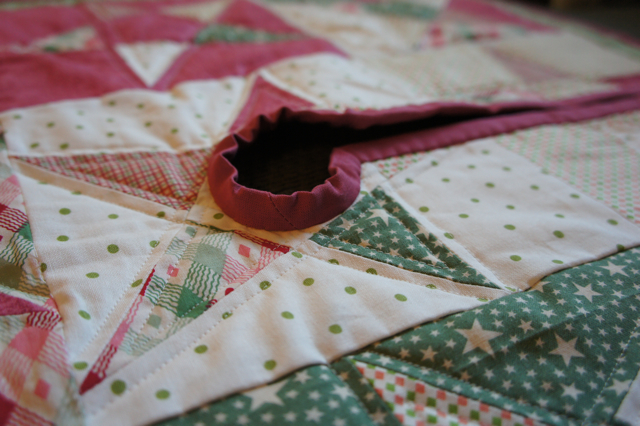
Then the binding. You can see on the center part that I didn’t cut the binding on the bias like I am supposed to. Yes, I’m lazy. But I actually did it on purpose this time. I knew it wouldn’t lie flat if I cut it on the grain, and it would sort of create a little turtleneck around the base of the tree. So, ugly as it is off the tree, I think it looks really nice when in use.
Now the trick is just going to be keeping the junk off the end table that usually accumulates there.
Check out Fabric Tuesdays on Quilt Story!






Oh that tree skirt is just perfect!! How sweet it looks, you did a great job.
Very cute! It looks fantastic around your little tree!
That is just what I need for under my little tree. It’s 5 ft. but 18 inches of that is trunk, I think. =P Right now it’s sitting on a hand-quiltd Amish quilt I bought in Lancaster several years back. Fortunately, no water! I don’t think I want to cut a slit in that quilt, though, so I should probably make one like yours. Thanks for the idea!